
Welcome to part 2.. lets continue to step 7.
7. Open the 2nd JPG (the Zdepth JPG) in Photoshop.

Fig.01
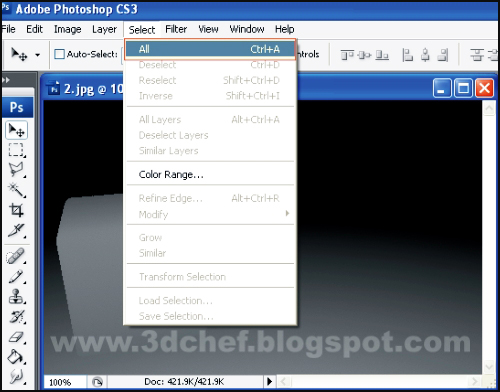
Fig. 02.
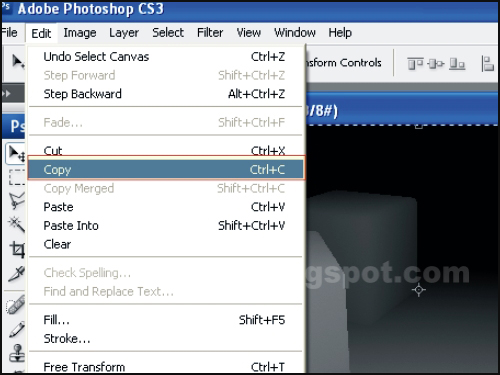
Fig. 03.
10. Open the first JPG , then go to 'Channel' tab. On the ‘Channel’ tab, click the ‘Create new channel’ button.

Fig. 04.
11. As you can see in Fig.05, the new channel is automatically named as ‘Alpha 1’.
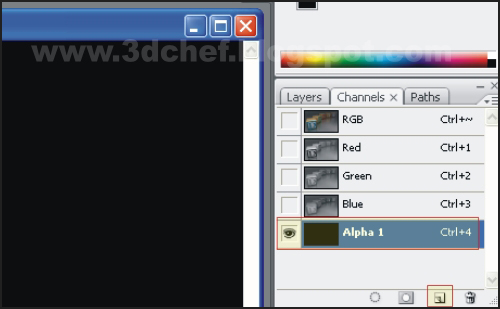
Fig. 05.
12. Now ‘Paste’ or press 'Ctrl V' the 'Zdepth' image that has been copied above in Step 9 to 'Alpha 1' channel.
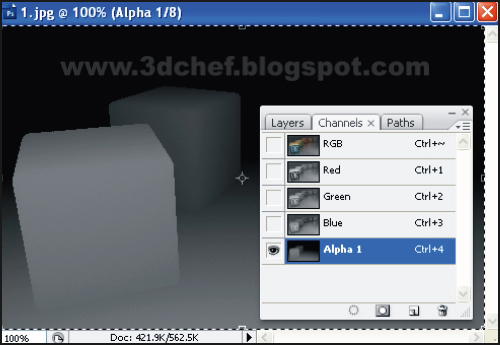
Fig. 06.
13. Turn off the Alpha 1 channel and select the RGB, Red, Green and Blue Channel, then go to ‘Filter’ tab. 'Filter' tab is on ‘Photoshop’ main menu bar.
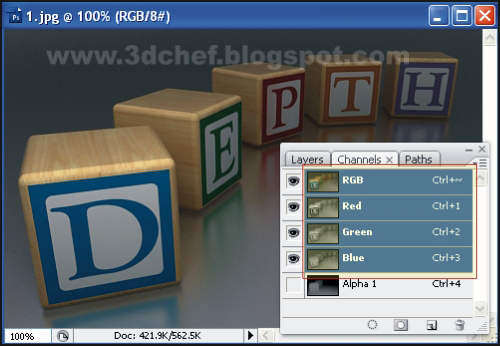
Fig. 07.
14. On the ‘Filter’ menu, choose ‘Blur’ and select the sub menu ‘Lens Blur’.
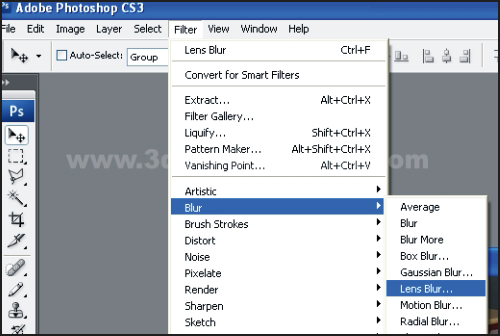
Fig. 08.
15. Changes the ‘Lens Blur’ parameters. Do some experiment in modifying the parameters to get the best result you want. Click ‘OK’ and it’s done.

Fig. 09.
16. Well done, see you again next tutorial.


By — Janu Budiman